
If you are afraid that your image will be to brighter or darker after printing process is done please take a closer look to the following tutorial.
If you’re using Photoshop we’re suggesting you to do the following:
1. Download and install ICC Profiles:
After you have downloaded the desired profile, you’ll need to import it.
MAC OS X: Copy files from the Folder /Library/ColorSync/Profiles
Windows: Right-click on the file and select “Install Profile”
2. Start from the original image.
3. Make sure you are in RGB mode:
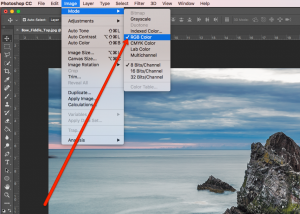
Image>Mode>RGB Color
4. For best result the image should have Adobe RGB profile assigned. In photoshop you find this at:
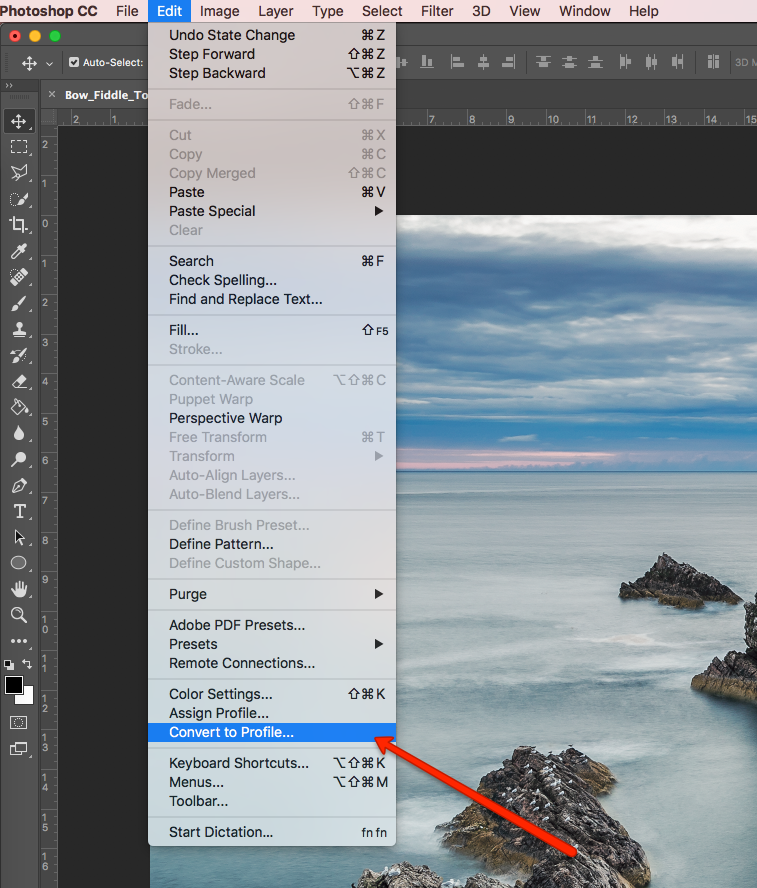
Edit>Convert to Profile…
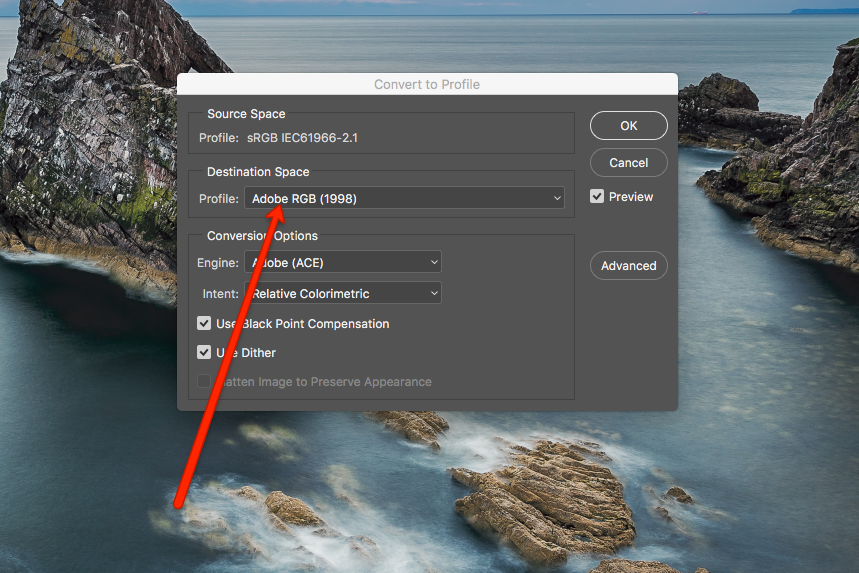
Select Profile: Adobe RGB (1998)
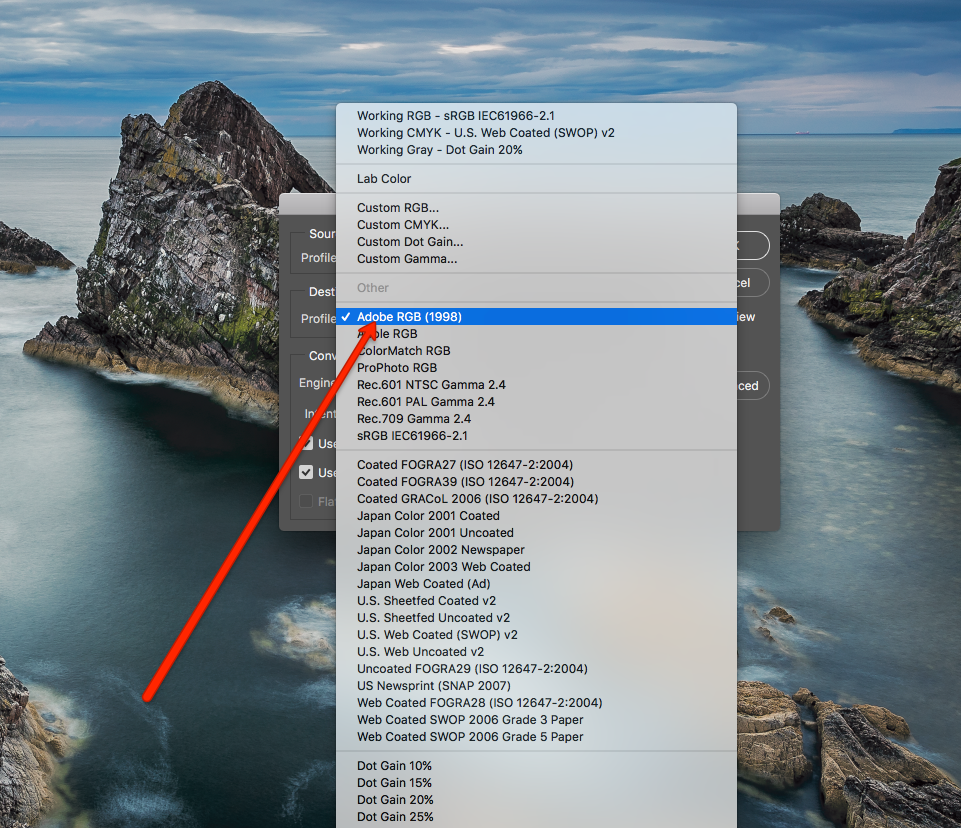
Select Adobe RGB (1998)
5. Set Photoshop View Profile to desired print: Aluminium, Acrylic Glass or Forex (PVC)
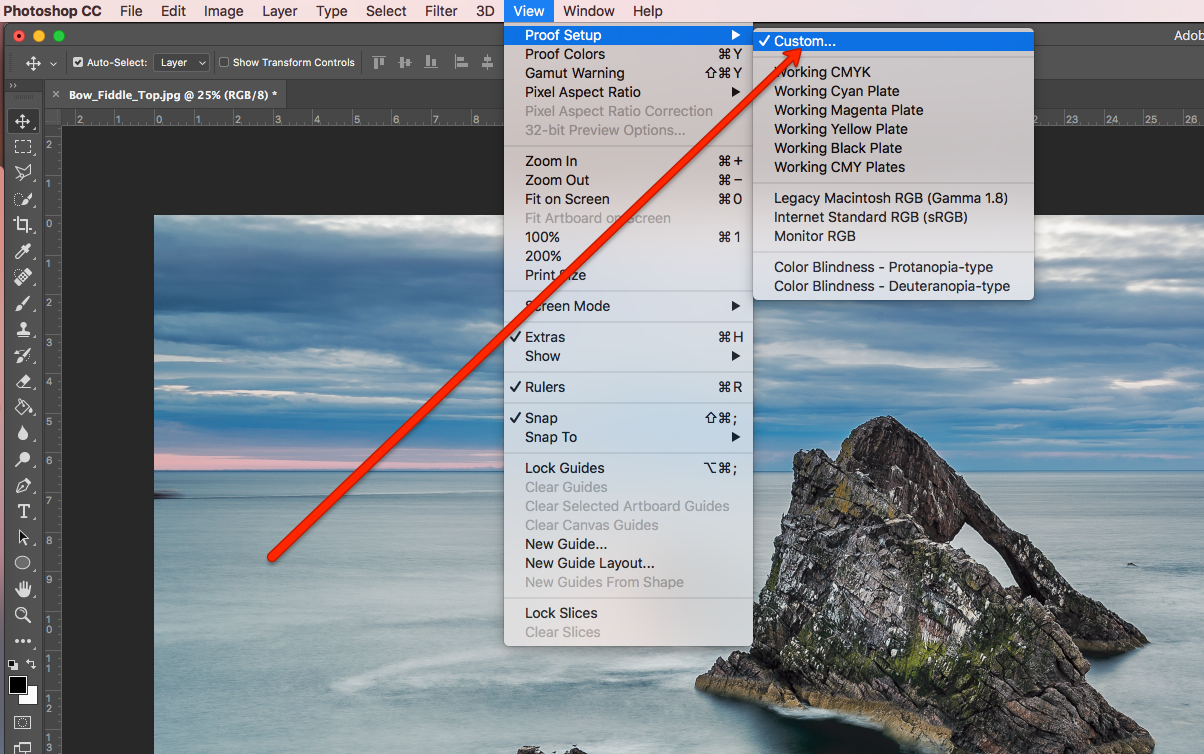
View>Proof Setup>Custom…
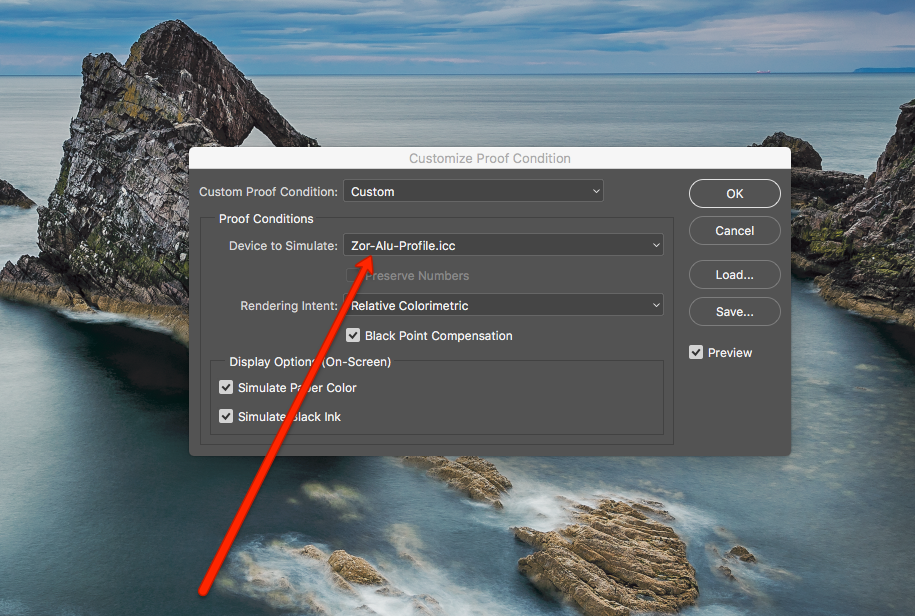
Device to Simulate: Select your desired ICC profile
6. After you have selected the correct ICC profile, don’t forget to check: Black Point Compensation, Simulate Paper Color and Simulate Black Ink.
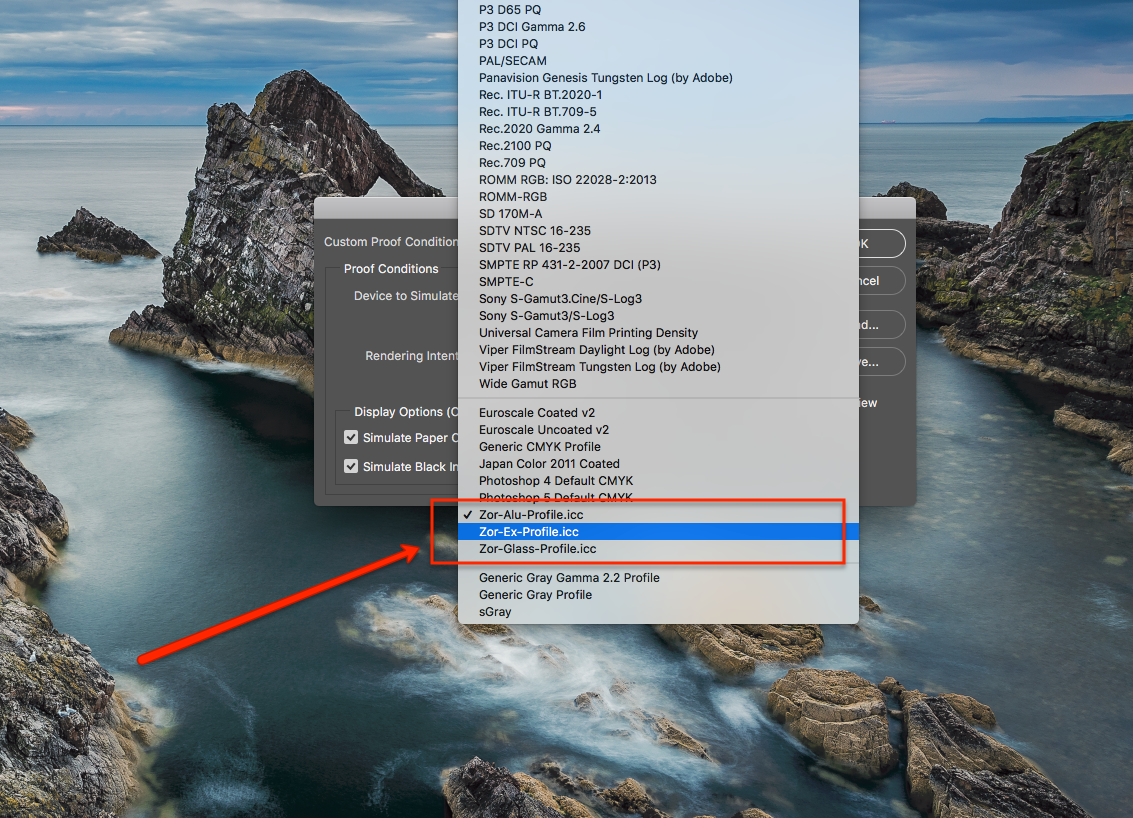
Select your desired ICC profile
Now that you know how to use ICC profile, what are you waiting for?
Choose your favorite picture and print it with ZOR.com